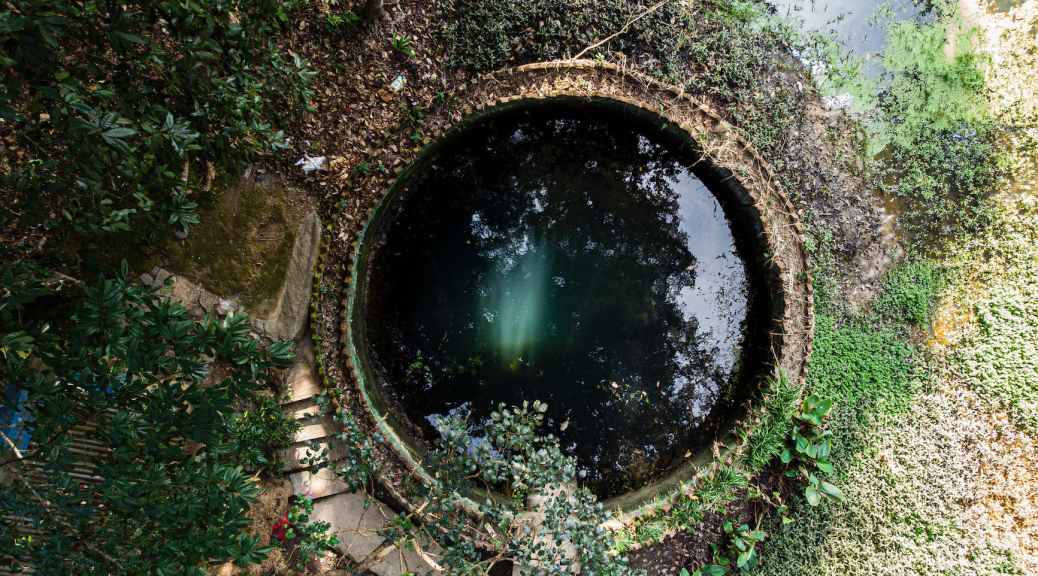
Digging a water well is a great way to secure a water supply on your property. With the help of some simple tools and the right knowledge, you can easily create a DIY water well that will provide you with clean, fresh water for years to come. Here’s how to do it.
Step 1: Choose the Location
The first step in digging a DIY water well is to choose the right location. You need to find a spot that is near a natural water source, such as a stream or a spring. This will make it easier to dig and will increase the chances of finding water.
You also need to make sure that the spot is not too close to any septic systems or other sources of contamination. You can use a soil test kit to check for any signs of contamination.
Step 2: Gather the Tools
The next step is to gather the tools you will need to dig the well. You will need a pickaxe, a shovel, a bucket, a well screen, a well cap, a well pump, and some PVC piping.
You can purchase all of these items at your local hardware store or online. You can also rent a drilling rig if you prefer, but it can be expensive.
Step 3: Start Digging
Now it’s time to start digging. You will need to dig a hole that is about 10 to 15 feet deep and 2 feet wide. Make sure that the sides of the hole are straight and not sloped.
Use the pickaxe to break up any rocks or hard soil that you encounter. Use the shovel to remove the dirt and debris from the hole.
Step 4: Install the Well Screen
Once you have dug the hole, it’s time to install the well screen. The well screen is a cylinder-shaped piece of metal or PVC that has small holes in it. It helps to filter out any debris or sediment that could clog the well pump.
Insert the well screen into the hole and make sure that it is secure. You can use rocks or cement to hold it in place.
Step 5: Install the PVC Piping
Next, you need to install the PVC piping. This will be used to bring the water up from the well to the surface.
Attach the PVC piping to the well screen and lower it down into the well. Make sure that it is securely attached and that it extends above the surface of the ground.
Step 6: Install the Well Cap
Once the PVC piping is in place, it’s time to install the well cap. The well cap is a cover that protects the well from debris and animals.
Attach the well cap to the top of the PVC piping and make sure that it is securely fastened.
Step 7: Install the Well Pump
The final step is to install the well pump. The well pump is what will be used to bring the water up from the well and into your home.
Attach the well pump to the top of the PVC piping and make sure that it is securely fastened. Connect the well pump to your home’s water system and turn it on to test it.
Conclusion
Digging a DIY water well can be a challenging but rewarding experience. With the right tools and knowledge, you can create a reliable water source that will provide you with clean, fresh water for years to come. Just remember to take your time and follow these steps carefully to ensure that your well is installed correctly and safely.

