
A prepper garden is an excellent way to provide a source of food during an emergency or crisis. Growing your own food not only saves money but also ensures that you have fresh produce available at all times. While most people tend to focus on growing fruits and vegetables, it’s also essential to consider growing other crops like potatoes, sorghum, corn, wheat, and other alternatives. In this article, we’ll discuss some tips for starting a prepper garden and what crops to consider planting.
1.Soil Preparation
Before planting anything in your garden, you need to prepare the soil. This involves removing any weeds or debris and tilling the soil to a depth of at least six inches. You can also add organic matter like compost or manure to the soil to improve its quality. If you’re planting potatoes, ensure the soil is loose and well-drained.
2.Choosing the Right Crops
When it comes to prepper gardening, it’s essential to choose the right crops that can thrive in your climate and provide maximum nutrition. Potatoes, for example, are a versatile crop that can be grown in most regions and provide a good source of carbohydrates. Sorghum is also a good option for prepper gardens, as it’s drought-tolerant and can be used to make flour, syrup, or even animal feed.
Corn is another popular crop for prepper gardens, as it’s rich in carbohydrates, protein, and fiber. It’s also easy to grow and can be used for a variety of purposes like making flour, cornmeal, and animal feed. Wheat is another staple crop that’s easy to grow and provides a good source of protein, fiber, and carbohydrates. It’s also versatile and can be used to make flour or bread.
Other crops to consider planting in your prepper garden include beans, peas, tomatoes, cucumbers, squash, and peppers. These vegetables are easy to grow and provide a good source of vitamins, minerals, and fiber.
3.Starting Seeds
Starting seeds is an excellent way to ensure that you have a steady supply of fresh produce throughout the growing season. You can start seeds indoors in late winter or early spring and transplant them into your garden once the weather warms up. Be sure to follow the instructions on the seed packet for proper planting depth and spacing.
4.Proper Watering
Proper watering is essential for the health and growth of your plants. You should water your plants deeply once or twice a week, depending on the weather and soil conditions. Be sure to water early in the day to reduce the risk of fungal diseases. If you’re growing potatoes, they require consistent moisture to ensure proper tuber development.
5.Pest Control
Pests like aphids, caterpillars, and beetles can quickly destroy your prepper garden if left unchecked. One way to control pests is to plant companion crops like marigolds or garlic, which repel pests naturally. You can also use organic pest control methods like neem oil or insecticidal soap.
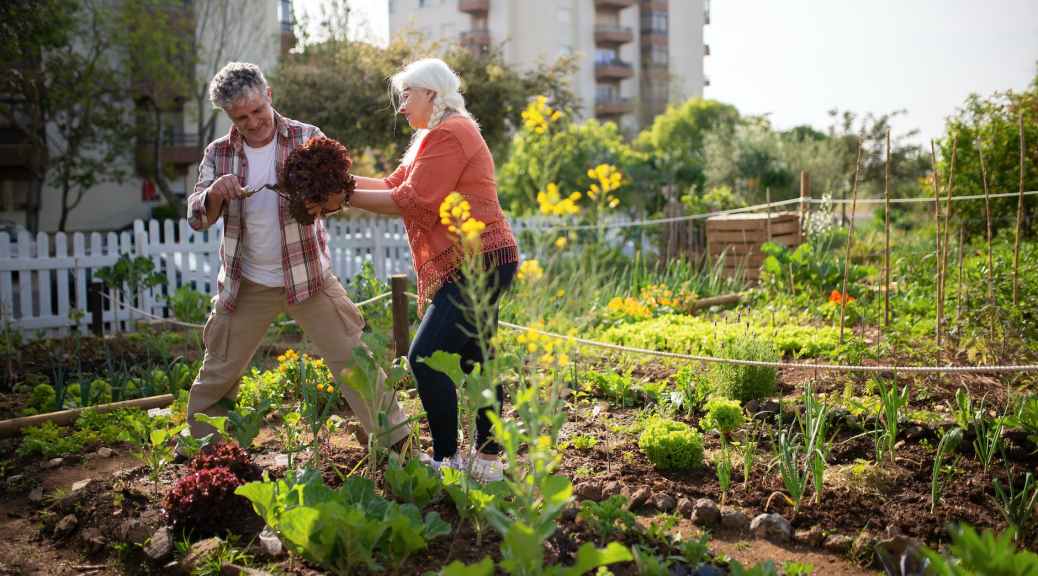
6.Harvesting
When it comes to harvesting your prepper garden, timing is everything. You should harvest your crops when they’re ripe and ready to eat. Potatoes should be harvested once the foliage dies back, while sorghum can be harvested once the seed heads turn brown. Corn should be harvested once the ears are plump and the silks have turned brown.
It’s important to harvest your crops in a timely manner, as leaving them in the ground or on the plant for too long can cause them to become overripe, and their quality may deteriorate. Additionally, leaving crops in the ground for too long can make them more susceptible to pests and diseases.
When harvesting your crops, make sure you have the necessary tools and containers on hand. Some crops, like tomatoes and peppers, are delicate and should be picked by hand. Others, like potatoes and carrots, can be dug up with a garden fork.
7. Storage
Once you’ve harvested your crops, it’s important to store them properly. Some crops, like potatoes, should be stored in a cool, dark place to prevent them from sprouting. Others, like onions and garlic, should be stored in a dry, well-ventilated area.
Finally, don’t forget to save some of your harvest for seed. Select the healthiest and best-performing plants to save seed from, and make sure to properly dry and store the seeds for use in next year’s garden.
